Error has occurred!
- KB273
- Apr 04, 2025 04:33 AM
How do I manage profiles for PDF-XChange Printers?
Question
How do I create profiles for my PDF-XChange printer?
Answer
Follow the steps below to add profiles:
1. Move to the Control Panel.
2. Click Devices and Printers. (The exact name of this option depends on the operating system in use).
3. Right-click the PDF-XChange Standard printer.
4. Click Printing Preferences. The Printing Preferences dialog box will open. Profile options are available on the upper right side:
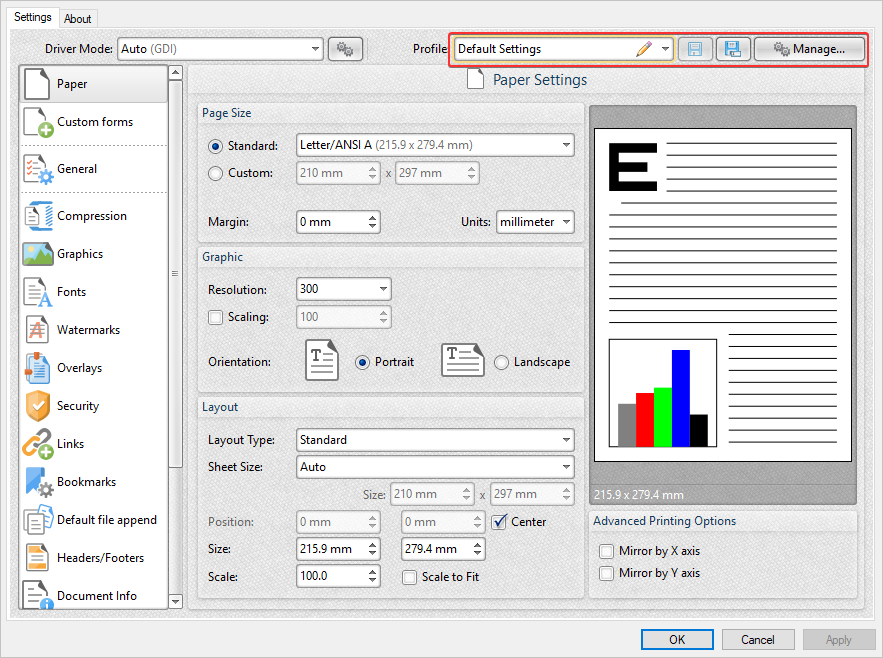
5. Adjust the settings to determine the properties of the profile as desired.
6. Click the New Profile ![]() button to save the customized settings. The Add Profile dialog box will open:
button to save the customized settings. The Add Profile dialog box will open:
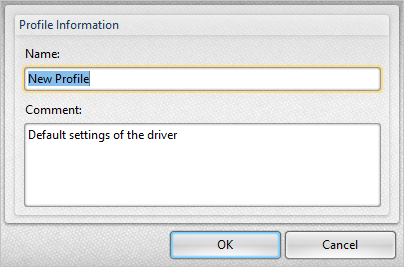
7. Enter a name for the profile and a comment as desired. (The comment will be displayed next to the profile in the list of printer profiles and can be used for ease of reference).
8. Click OK.
The profile will then be available in the Profile dropdown menu, which is highlighted in the top image above.
Setting a Custom Profile as the Default
If you would like to set a custom profile as the default for our Standard printer.
1. Move to the Control Panel.
2. Click Devices and Printers. (The exact name of this option depends on the operating system in use).
3. Right-click the PDF-XChange Standard printer.
4. Click Printing Preferences. The PDF-XChange Standard Printing Preferences dialog box will open.
5. Select the profile you would like to be the default from the dropdown menu, then click Apply.
6. Restart your PC.
More Like This
- KB#456: How Do I Customize toolbars in PDF-XChange Editor?
- KB#282: Why won't the "Email Document" feature work in conjunction with Microsoft Outlook?
- KB#338: What are the MSI installation switch options for the PDF-XChange family of products?
- KB#447: How do I determine what version I should install/how can I retrieve my serial key?
- KB#554: What is the New Licensing Setup Introduced with V9 of the Software?