How do I use the Zoom options in PDF-XChange Editor?
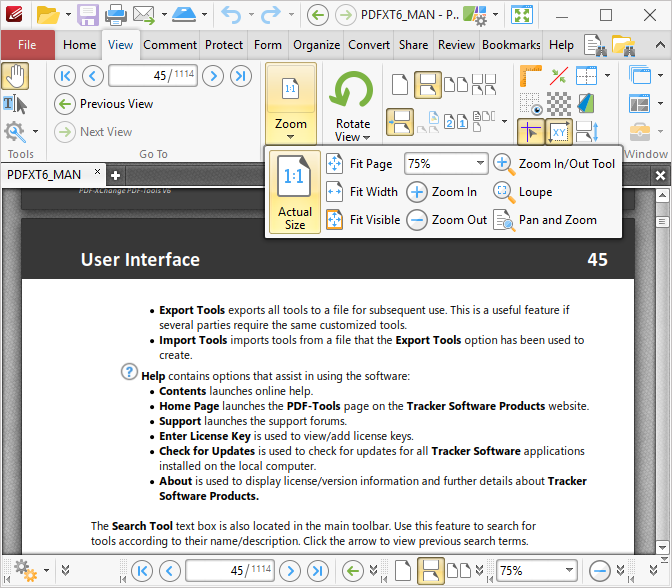
The Zoom options are available on the View Tab, each function is detailed below.
The Actual Size button set the zoom level to the actual document size within the viewing pane. (This may result in the page exceeding the limits of viewable space. If this happens then the scroll bars can be used to view the entire document).
The Fit Page button sets the borders of documents to match those of the viewing pane.
The Fit Width button fits document to match the width of the viewing pane.
The Zoom Dropbox is used to select standard zoom settings. Click the dropdown arrow to view available options. Alternatively, enter a custom figure in the number box.
The Zoom In/Out Tool increases the zoom level. The pointer becomes a magnifying glass icon when the Zoom Tool is selected. Click to zoom to the location at which the icon is located in the active document. Alternatively, click and drag to determine a rectangle and then release the mouse button to zoom to the area determined, as detailed below.
The Zoom In button increases the zoom. It focuses automatically on the center point of documents.
The Zoom Out button decreases the zoom. It focuses automatically on the center point of documents.
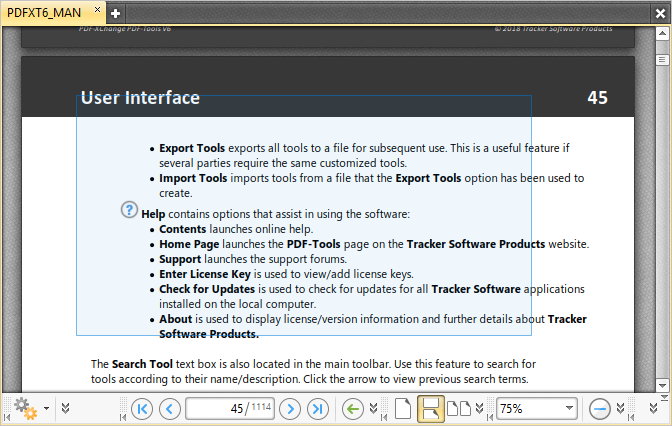
1. Select the Zoom In/Out Tool, then click and drag the pointer to determine the zoom area:
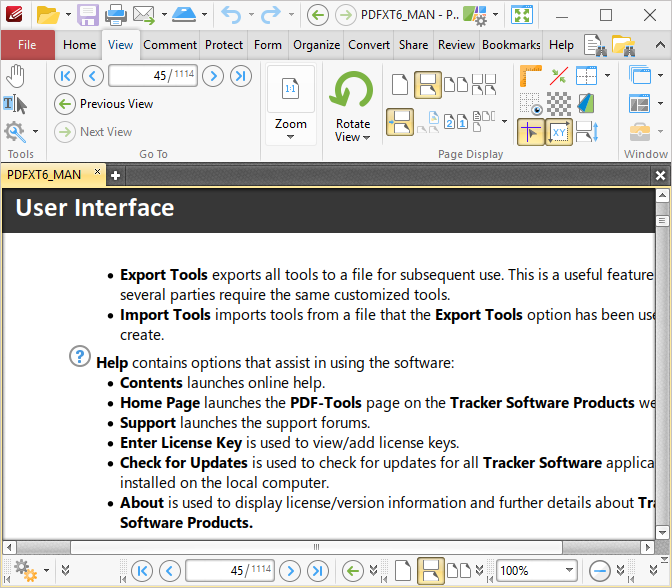
2. Release the mouse button to zoom the current view to the area determined:
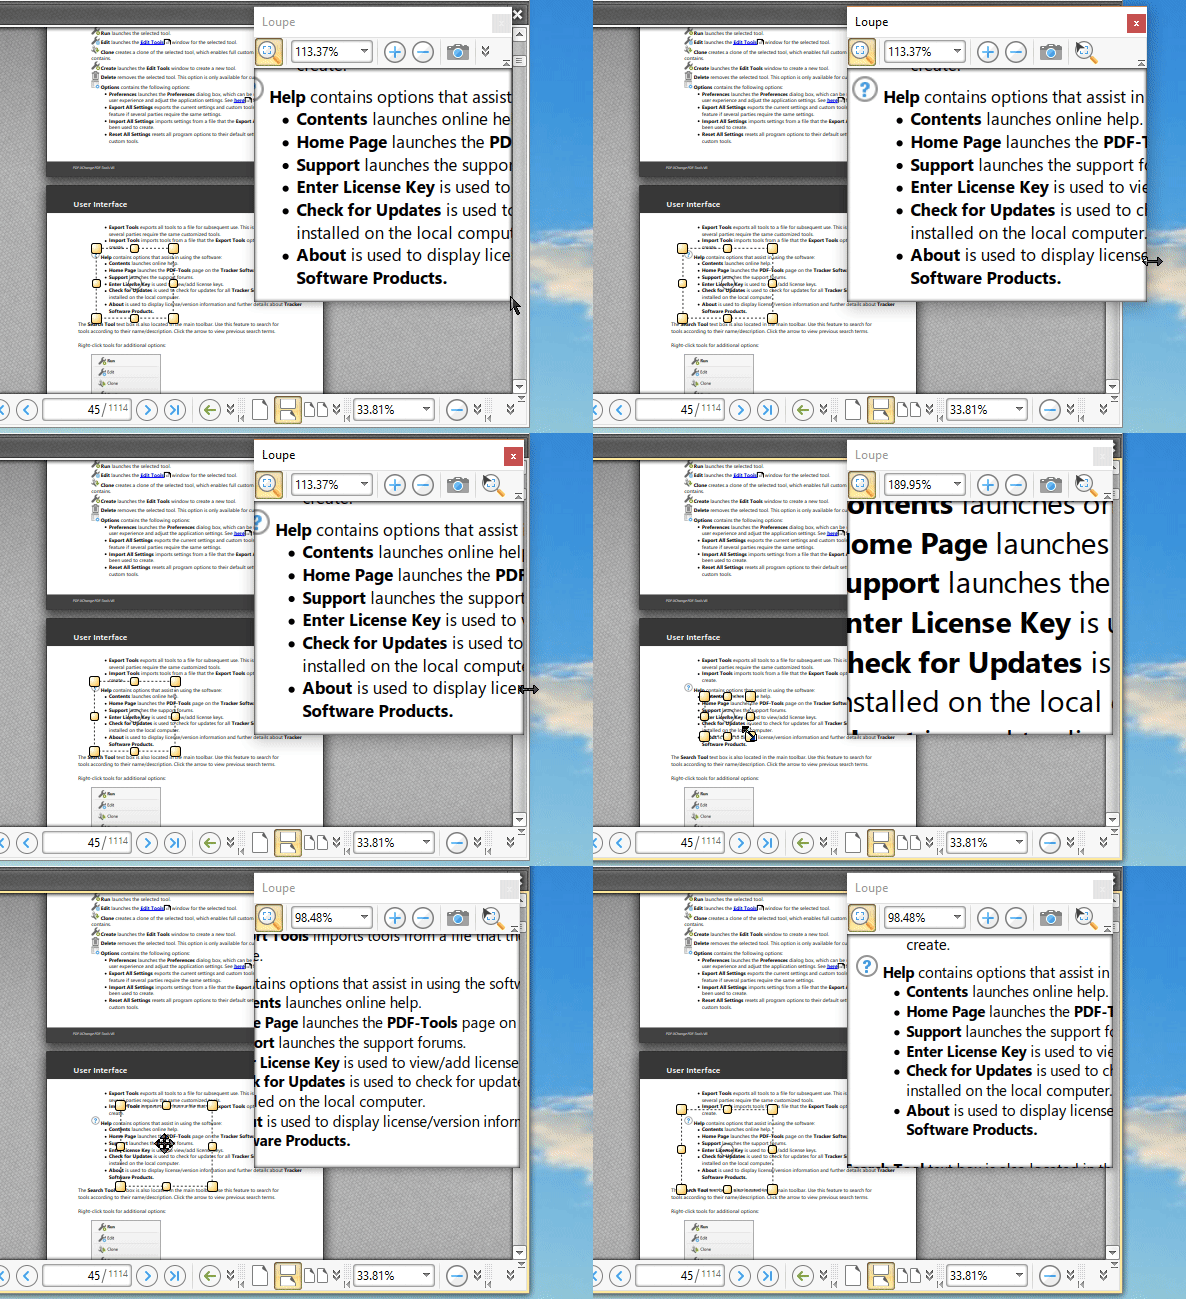
The Loupe Tool is used to assist in the editing of PDF documents. Click Loupe Tool to select the Loupe Tool, then click within the document to determine the contents of the Loupe Pane. A rectangle will appear, as detailed below. The area that the rectangle contains is displayed the Loupe Pane:
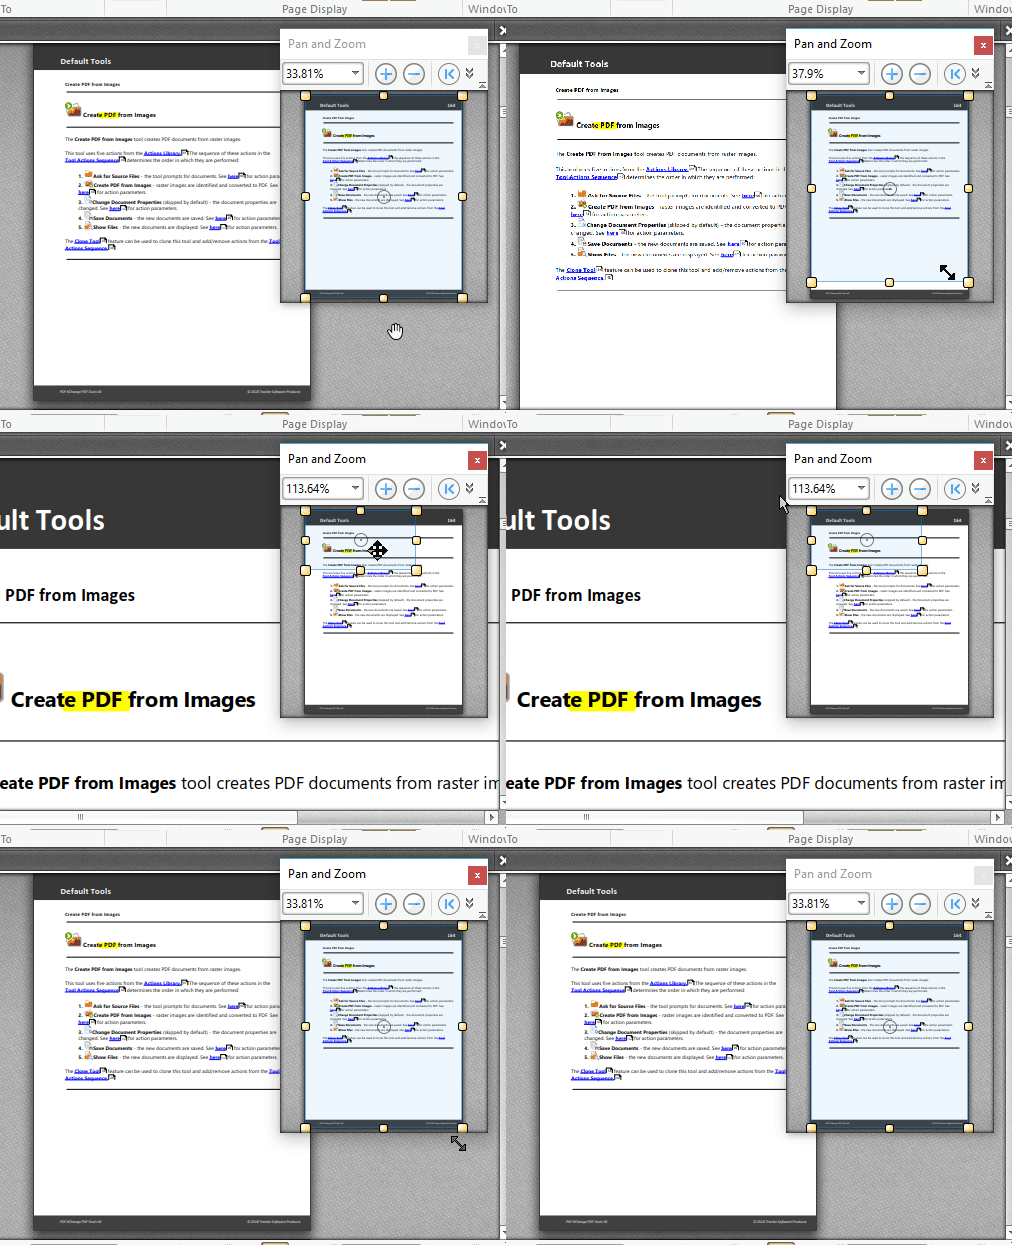
This feature facilitates the simple and efficient viewing of zoomed documents. Click Pan and Zoom to activate the pan and zoom feature:
You can contact us by phone, email or our social media accounts — we are here to assist you.