Accessible PDFs are documents that meet a range of ISO requirements that define them as being universally easy to use and meeting established accessibility standards. These standards are specified in the ISO-standardized subset of PDF targeted at accessibility, PDF/UA, which was first published in 2012. Accessibility is intended to enable all people to view, read and interact with documents, especially those for whom vision, hearing, mobility, or cognition is impaired. Therefore, accessible PDFs must support assistive technology such as screen readers and braille displays, and it should be easy to listen to their contents on a mobile device, view them with a screen magnifier, and fill them out without the use of a keyboard.Accessible PDFs prioritize inclusivity and provide a better user experience for individuals with disabilities. They achieve this through key differences in comparison to regular PDFs:
Creating accessible PDF files, or fixing accessibility problems in existing PDF files, can be a complicated process. For example, scanners are often used to convert hard copies of documents or images of text into PDF. Unfortunately, such image-based PDFs are largely inaccessible by definition, and require conversion into text using optical character recognition (OCR) before they can be made accessible. You can view how to use PDF-XChange Editor to perfom OCR on such documents here. If you want to create an accessible PDF then you should first review the PDF accessibility standards, and organize the document with clear and meaningful headings that will allow the screen reader to navigate the content smoothly. Next, you should carefully tag each element in the PDF, such as paragraphs, headings, lists, and tables. Proper tagging helps screen readers to understand the structure and present the information in a logical order. Instructions on how to tag documents are available below. You must also provide descriptive text for hyperlinks to assist in navigation, which will allow the user of the screen reader to understand the purpose of the link without the need to rely on visual cues. You should then add alternate text descriptions to all the images, which will ensure the screen reader can convey their meaning effectively - this process is also detailed below. Additionally, you must include bookmarks and a table of contents to facilitate easy navigation of the document. Instructions on how to add bookmarks to documents with PDF-XChange Editor are available here, and instructions on how to create a table of contents from bookmarks are available here. You must also ensure the PDF has sufficient color contrast for visual accessibility, and avoid relying solely on color to convey important information. Doing so will ensure that visually impaired users can still access and understand the content correctly. If the PDF contains forms, then you must ensure that all form fields are labeled and allow for keyboard navigation, which makes it easier for users of screen readers to fill them in. You should also review and test the PDF with a screen reader to ensure that it reads the content in a logical order, correctly identifies headings, and properly interprets alternate text for images.
How Can I Create Accessible PDFs with PDF-XChange Editor?
There are a range of accessibility features available in PDF-XChange Editor. You can use these features to perform accessibility checks on documents in order to find out if they meet the requirements for accessible documents, as well as determine reading orders for document content, tag document content, and set alternate text descriptions for images.
Perform an Accessibility Check
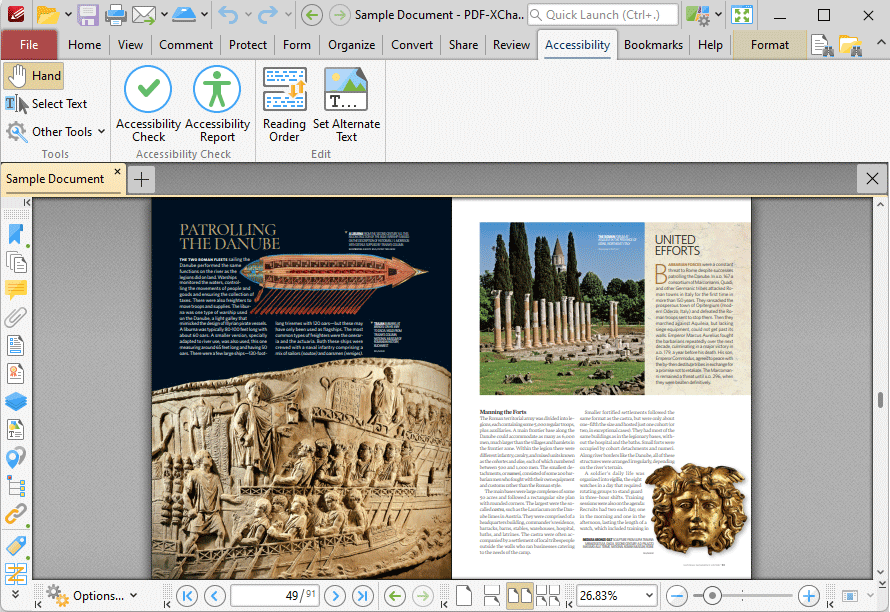
The first step that you should perform is the accessibility check, which you can do via the Accessibility tab in PDF-XChange Editor:
Performing an accessibility check will determine whether or not the document meets the necessary requirements to be defined as an accessible document. If the document does not meet those requirements then PDF-XChange Editor will explain what needs to be changed within the document in order to make it accessible. Follow these steps to perform an accessibility check:
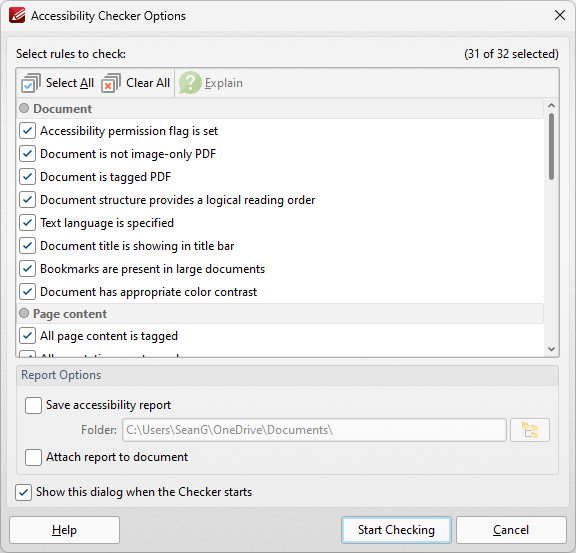
1. Click the Accessibility Check icon to open the Accessibility Checker dialog box:
Note that PDF-XChange Editor checks thirty-two rules when it performs accessibility checks. These rules are detailed in the pane, and the definitions of the rules are available here.
2. Select the boxes of the checks that you want to perform on the document.
3. Select the Save accessibility report box to save a copy of the report to file, then specify the folder in which you want to save the report.
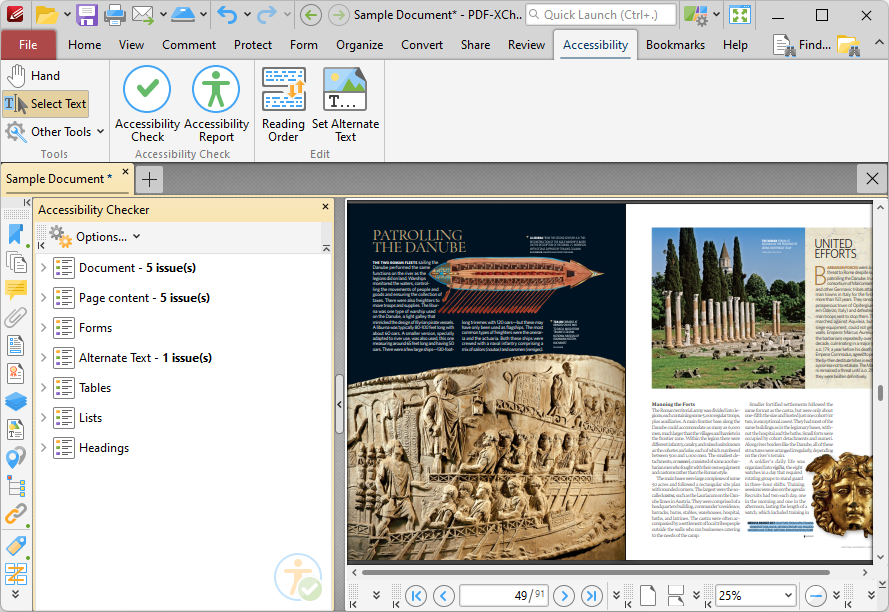
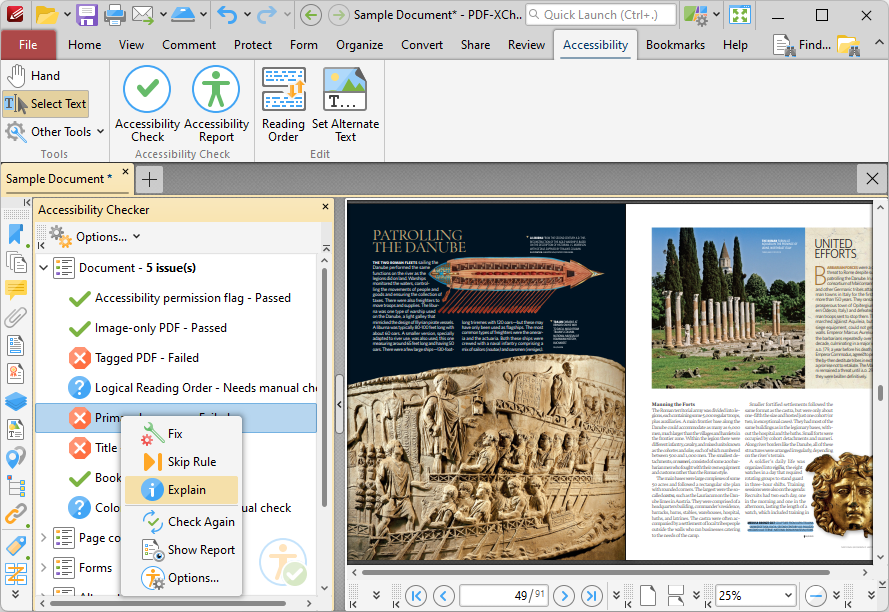
4. Click Start Checking to start the accessibility check. The check will then run and the results will be displayed in the Accessibility Checker pane:
5. Click to expand categories in the pane, then right-click failed checks and click Explain to view an explanation of the rule, which details why it failed the test and indicates how to resolve the issue:
6. Follow the instructions to resolve the issue and then proceed to the next item in the pane, until all issues are resolved.
Set the Reading Order and Add Tags to Documents
Setting the reader order and adding tags to document content is an important part of making documents accessible. Doing so will enable screen readers to read the document in the correct order, and adding tags clarifies the type of content in the document. Follow the steps below to set the reading order of documents and add tags:
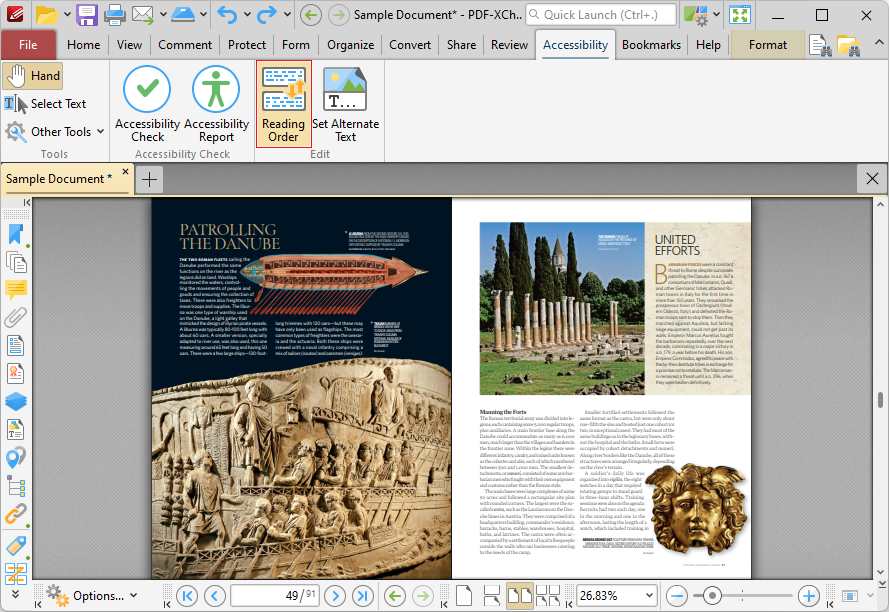
1. Click the Accessibility tab, and then click Reading Order:
The Order tab will open.
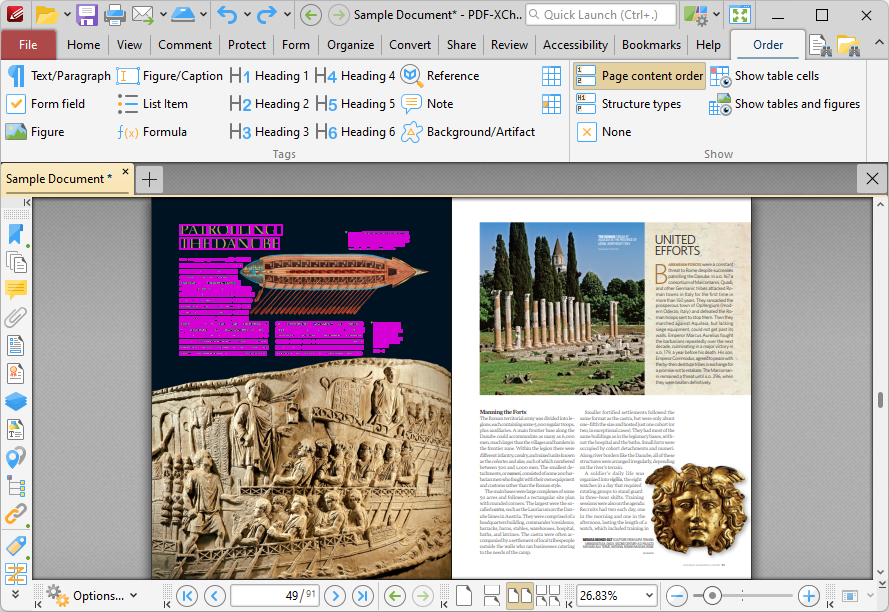
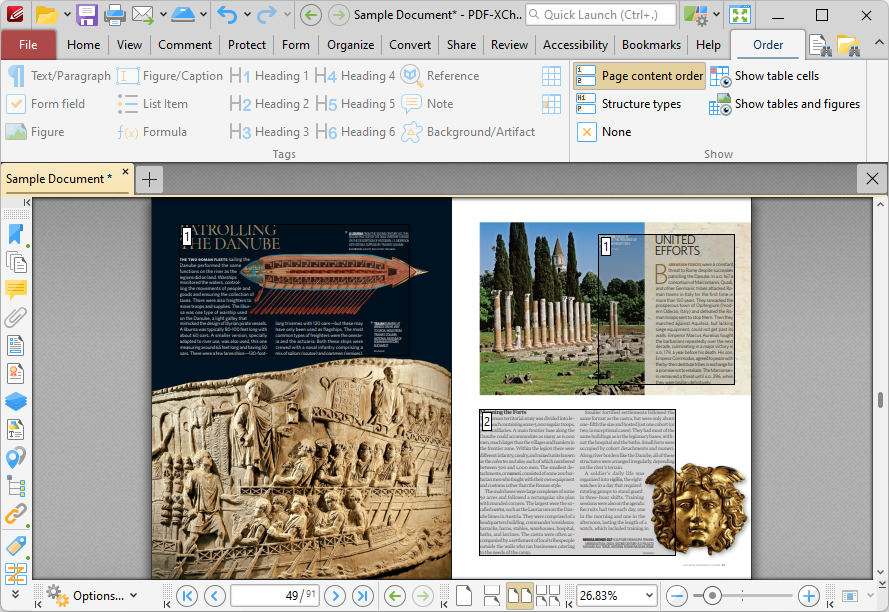
2. Click Page Content Order and then click and drag to determine the first section of the document to be read. It will be highlighted with pink borders:
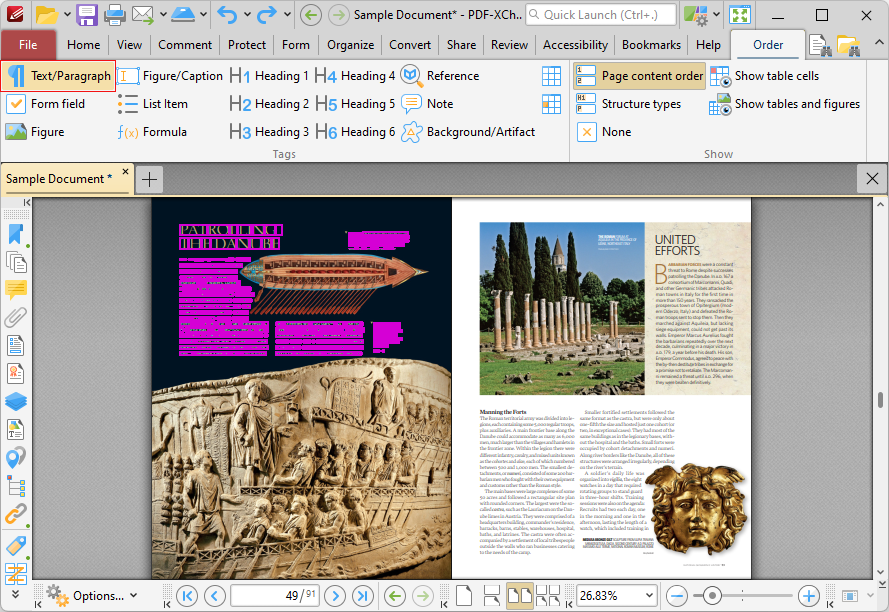
3. Select an option in the Tags section of the Order tab to determine the type of document content - in this case, text:
4. Repeat these steps until all the content in the reading order has been tagged:
Note that the reading order is counted on a per-page basis, so the first item on each page is labeled '1'.
The remaining content in the document should now also be tagged:
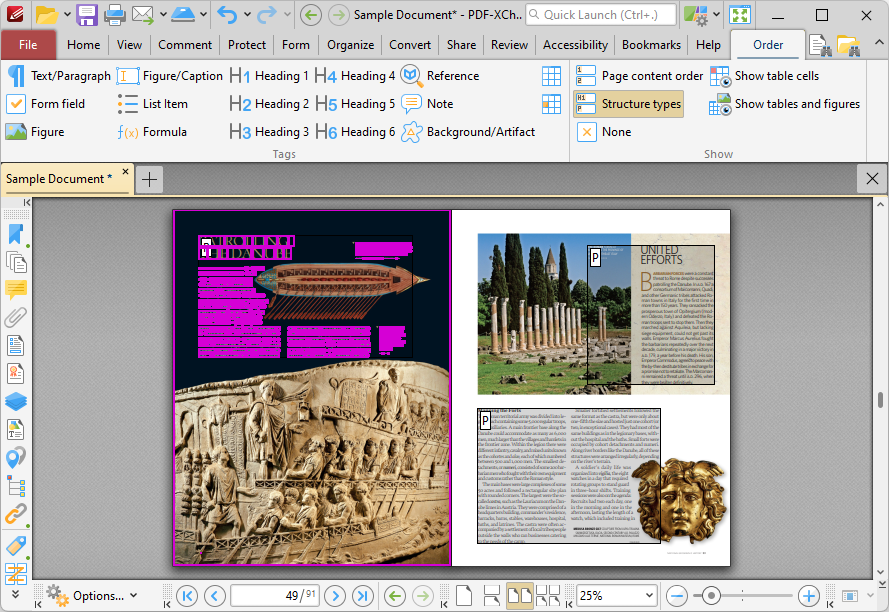
5. Click Structure types in the Accessibility tab, then click and drag the areas to be tagged:
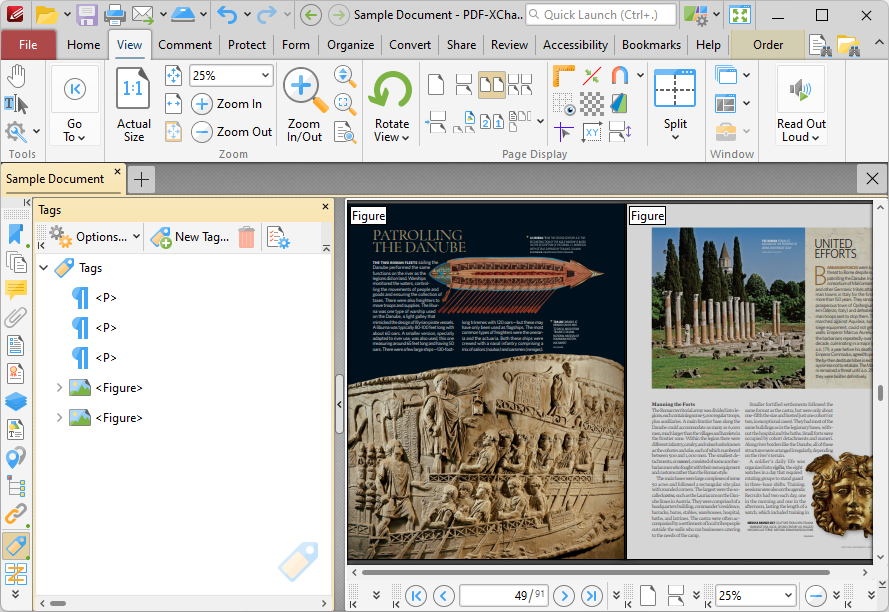
6. Select the structure type in the Tags section to determine the document structure type. Note that in this sample document, each entire page is a single image, and therefore the entire page is tagged as a figure:
7. Repeat this process for all remaining document structure types. The process of setting the reader order and document tags is then complete.
Add Alternate Text Descriptions to Images
The next step in making documents accessible is to add alternate text descriptions for images:
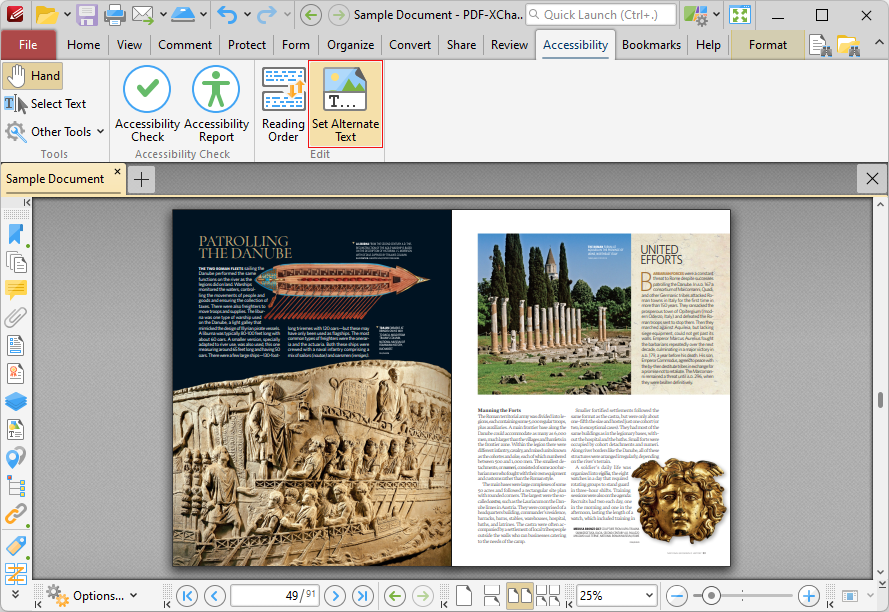
1. Click the Accessibility tab, then click Set Alternate Text:
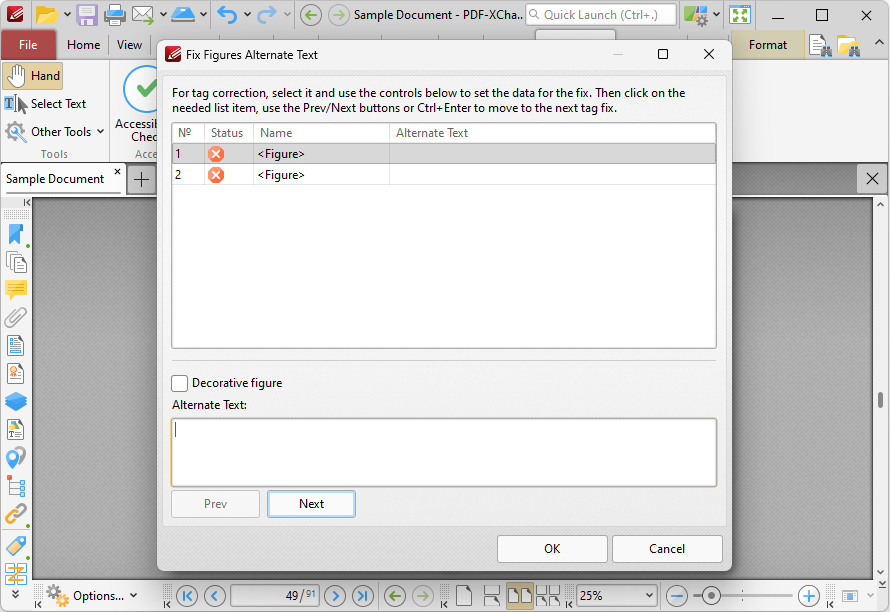
The Fix Figures Alternate Text dialog box will open:
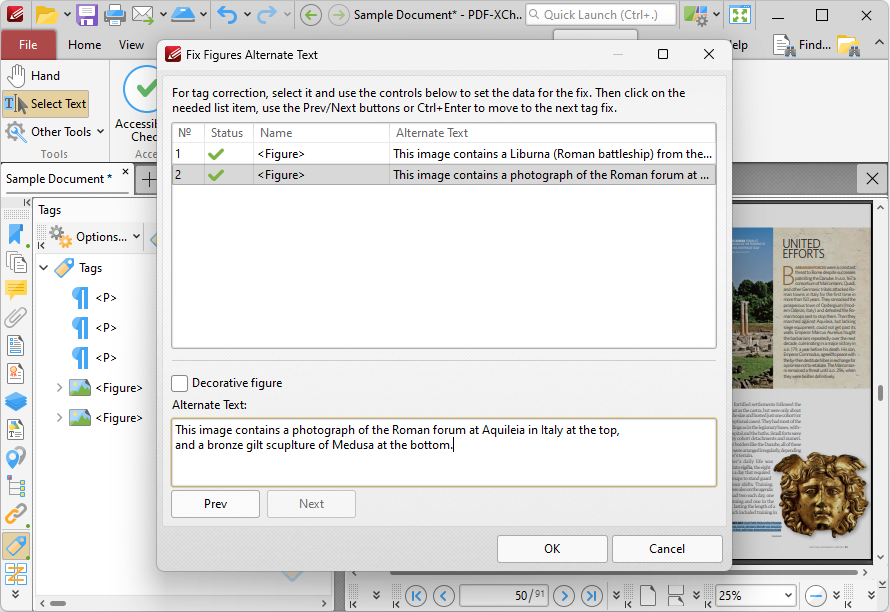
2. Enter text descriptions for each figure:
3. Click OK to save the text descriptions.
Further information about the PDF/UA (Universal Accessibility) format is available here.
If you have any questions regarding accessibility and/or making documents accessible then please contact us for assistance.
You can contact us by phone, email or our social media accounts — we are here to assist you.